
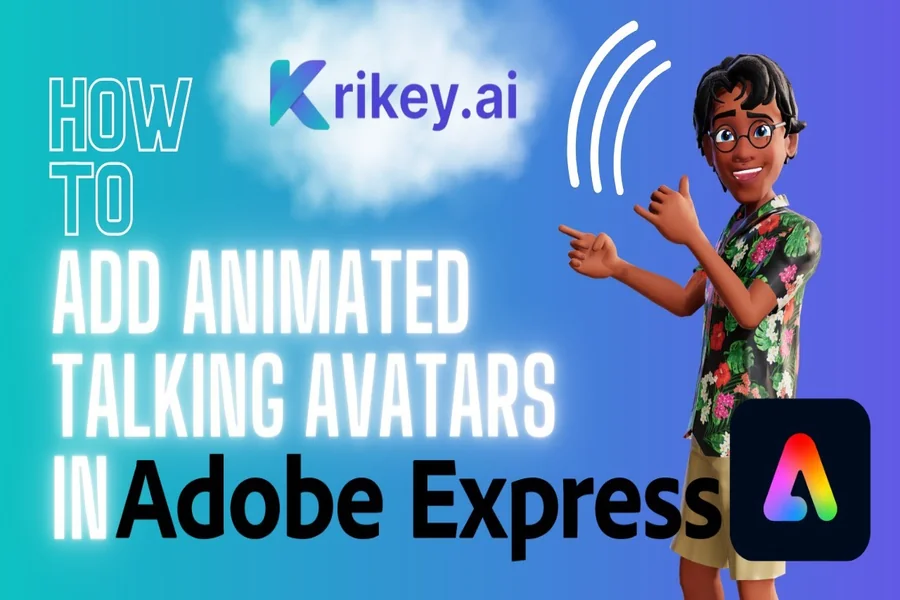
In today’s content-driven world, animation is no longer reserved for professional studios. Whether you’re a marketer, content creator, or small business owner, tools like Adobe Express have made it incredibly easy to bring your ideas to life,especially when it comes to turning your voice into an animated character.
The best part? You don’t need advanced design skills or expensive software. With the rise of tools like a free animation maker, anyone can create engaging, voice-driven animations in minutes.
In this guide, you’ll learn exactly how to transform your voice into a lively animated character using Adobe Express, along with practical tips to make your content stand out.
What Is Adobe Express Voice Animation?
Adobe Express offers a feature called “Animate from Audio”, which allows users to sync voice recordings with animated characters. This means your voice directly drives the animation,creating natural-looking speech and movement automatically.
Instead of manually animating lip movements or expressions, the platform uses audio signals to generate motion in real time.
Why This Matters
- No animation experience required
- Fast content creation (minutes, not hours)
- Perfect for social media, ads, and storytelling
In fact, Adobe Express is designed so that “all you have to do is pick a character and start recording your voice” to generate an animation.
Step-by-Step: Turn Your Voice into an Animated Character
Let’s break it down into a simple, actionable workflow.
1. Open Adobe Express and Choose “Animate Characters”
Start by heading to Adobe Express and navigating to:
Video – Quick Actions – Animate Characters
This is where the magic happens. The interface is beginner-friendly and requires no setup.
2. Pick Your Animated Character
Adobe Express provides a library of characters including:
- Animals (foxes, bears, unicorns)
- People (various styles)
- Fun avatars (robots, cartoons)
You can preview each character before selecting the one that matches your message or brand tone.
Tip: Choose a character that reflects your audience. For example:
- Kids content – playful animals
- Business content – clean, professional avatars
3. Record or Upload Your Voice
Now comes the core step,adding your voice.
You can either:
- Record directly using your microphone
- Upload an audio file (MP3, WAV, etc.)
Once you start recording, Adobe gives you a short countdown, then captures your voice and processes it into animation.
Audio length can typically go up to around 2 minutes.
4. Watch Your Character Come to Life
After recording, Adobe Express automatically:
- Syncs lip movements with your voice
- Adds subtle motion and expressions
- Generates a complete animated clip
This happens almost instantly, making it one of the fastest animation workflows available.
5. Customize Your Animation
Now it’s time to make your animation unique.
You can:
- Change backgrounds (colors, images, scenes)
- Adjust character size and position
- Trim or edit audio timing
- Resize video for different platforms
Adobe Express supports multiple aspect ratios, so your content is ready for:
- TikTok (vertical)
- YouTube (landscape)
- Instagram (square)
6. Export and Share
Once you’re happy with your animation:
- Download the video
- Share directly to social platforms
- Use it in ads, presentations, or landing pages
Best Practices for Better Voice Animations
Creating animation is easy,but creating engaging animation takes strategy.
1. Use Clear, Expressive Voice Delivery
Your animation quality depends heavily on your voice.
- Speak clearly and naturally
- Add emotion (excitement, curiosity, humor)
- Avoid monotone delivery
The more expressive your voice, the more dynamic your character will appear.
2. Keep It Short and Focused
Short-form content performs best.
- Aim for 15–60 seconds for social media
- Deliver one key message per animation
This aligns with current video trends where bite-sized content drives higher engagement.
3. Match Visuals to Your Message
Your background and character should support your message.
Examples:
- Educational content – simple, clean background
- Storytelling – themed or illustrated scenes
- Marketing – branded colors and visuals
4. Optimize for Each Platform
Different platforms require different formats:
- TikTok/Reels – vertical (9:16)
- YouTube – horizontal (16:9)
- Instagram posts – square (1:1)
Adobe Express makes resizing quick and easy.
5. Improve Audio Quality
Even though animation is visual, audio is king.
Tips:
- Use a decent microphone
- Record in a quiet space
- Avoid echo and background noise
Clean audio leads to smoother animation and better viewer retention.
Use Cases: Where Voice Animation Works Best
Voice-driven animated characters are incredibly versatile.
Marketing & Ads
Explain products in a fun, engaging way without appearing on camera.
Educational Content
Break down complex topics using friendly animated characters.
Social Media Content
Stand out in crowded feeds with unique animated storytelling.
Business Presentations
Replace boring slides with animated explainers.
Why Adobe Express Stands Out
Compared to traditional animation tools, Adobe Express offers:
- Instant voice-to-animation conversion
- Beginner-friendly interface
- Hundreds of characters and backgrounds
- Cross-platform compatibility
Most importantly, it removes the biggest barrier: technical complexity.
Final Thoughts
Turning your voice into an animated character is no longer a complicated process. With Adobe Express, you can create engaging, professional-looking animations in just a few clicks.
Whether you’re building a brand, growing a social media presence, or simply experimenting with creative content, voice animation opens up a whole new level of storytelling.
Start simple:
- Pick a character
- Record your voice
- Customize and share
From there, you’ll quickly discover how powerful,and fun,this format can be.